The below instructions will assist you in creating and sending a batch SMS.
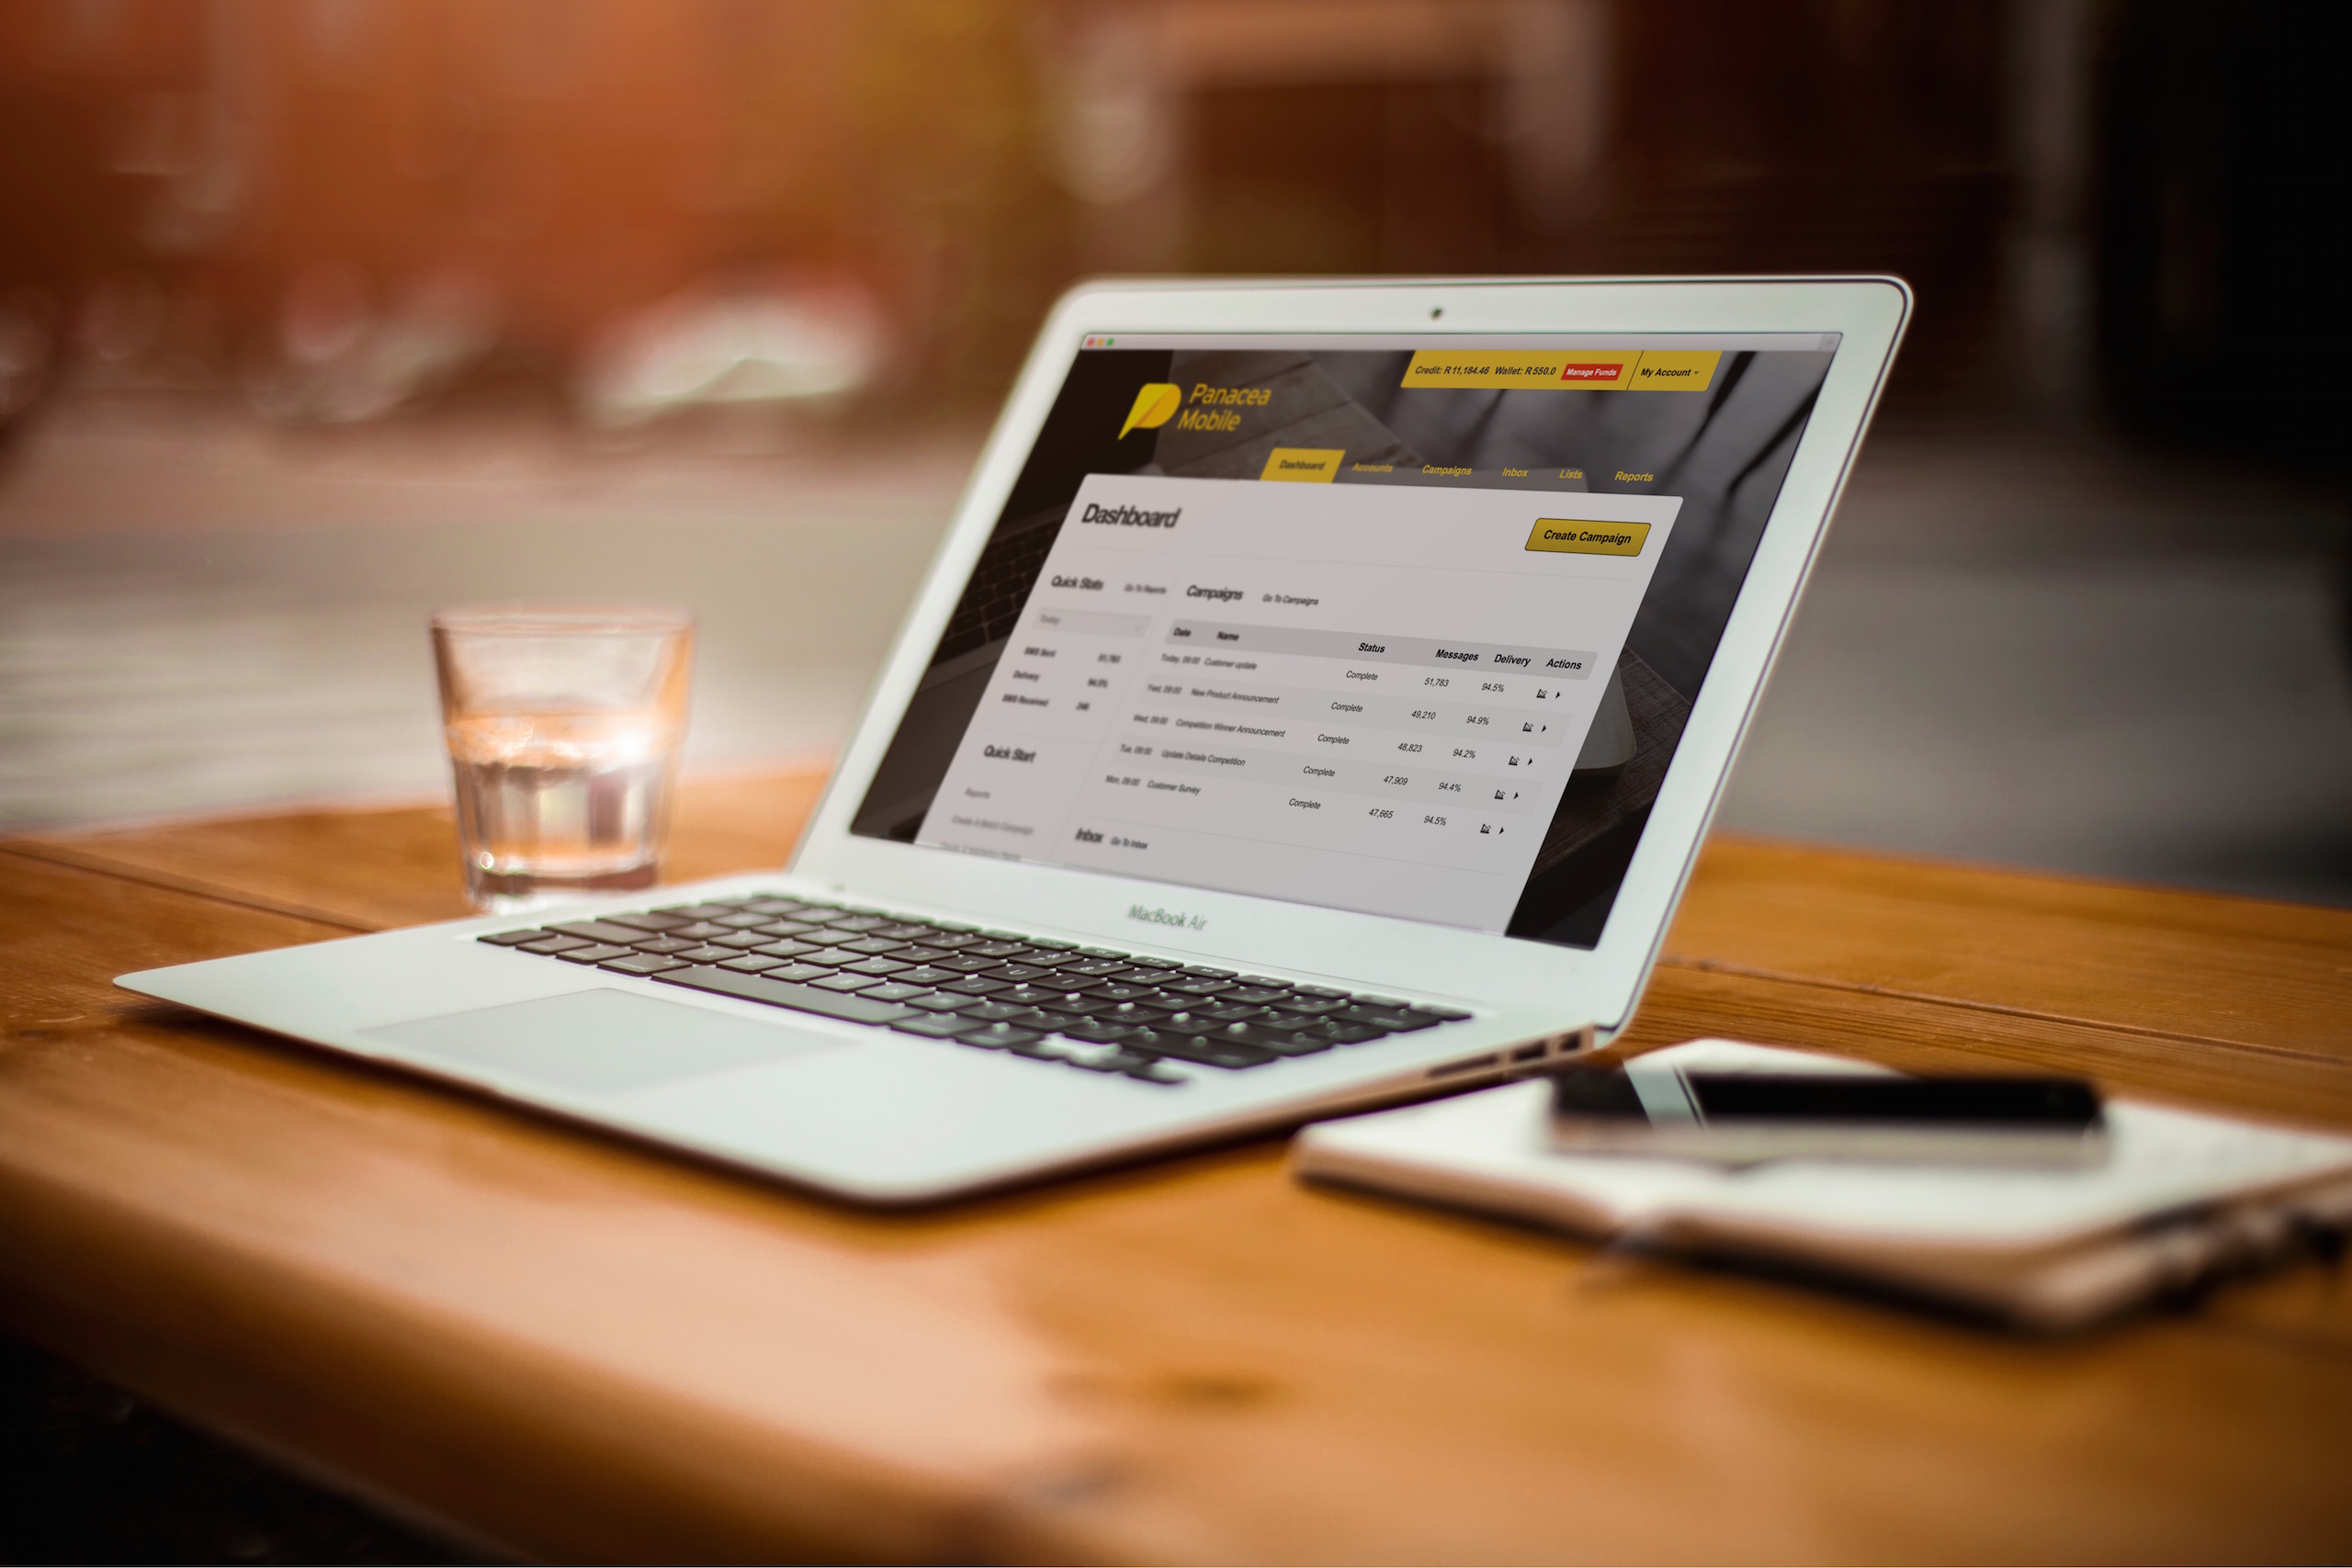
Once you have logged in using your username and password, select the Create Campaign button in the upper right hand corner and mouse over the SMS option.

The below instructions will assist you in creating and sending a batch SMS.
Once you have logged in using your username and password, select the Create Campaign button in the upper right hand corner and mouse over the SMS option.

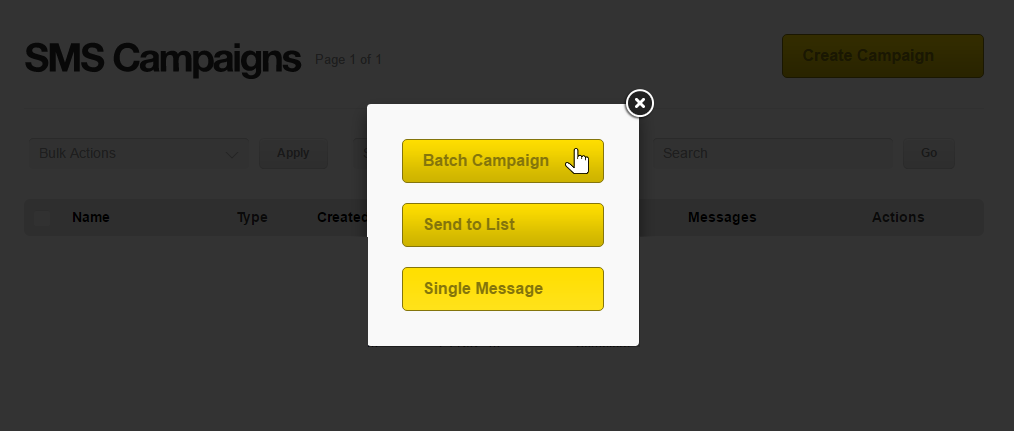
Once you have clicked on that option select the Batch Campaign button.

Once you have clicked on that option you will be taken to the Import Batch screen.

You will now be able to upload your batch file from this screen. To do this select the Select A File option. From here you navigate to your batch file .csv and select it. Please make sure your batch file is formatted like the one pictured below:

Once you have selected the batch file you will be taken to a the screen below. This next step will require you to select the first row of usable data. This row will then be highlighted as in the picture below. Once you have done this you may proceed by selecting the Next Step option on the bottom of the screen.

You will then be taken to the match rows page. On this page we will ask you to let us know what data makes up each column of the .csv file you have just uploaded. If you followed the file format the page should be setup similar to the below screen. As you can see, you will also be given the option toCompose your message if your batch file .csv did not contain one. Once you are satisfied with the setup so far you can proceed by selecting the Next Step option.
The next step in the process would be to apply the final settings to the send. This screen will look similar to the one below with some notable options:
From here you can now select the Next Step option:

Once the batch has been created you will be taken to the batch status page as below. This page will allow you to manually start your send by selecting the Start Batch option on the right hand side of the page. You will then be able to monitor the status of the send from this page. To get back to the batch list page you can select the Back to Batches option:
